What you'll learn
Part A: Request Policy Changes
Add states, class codes, locations, change addresses, or update officer information.
Open Your Policy
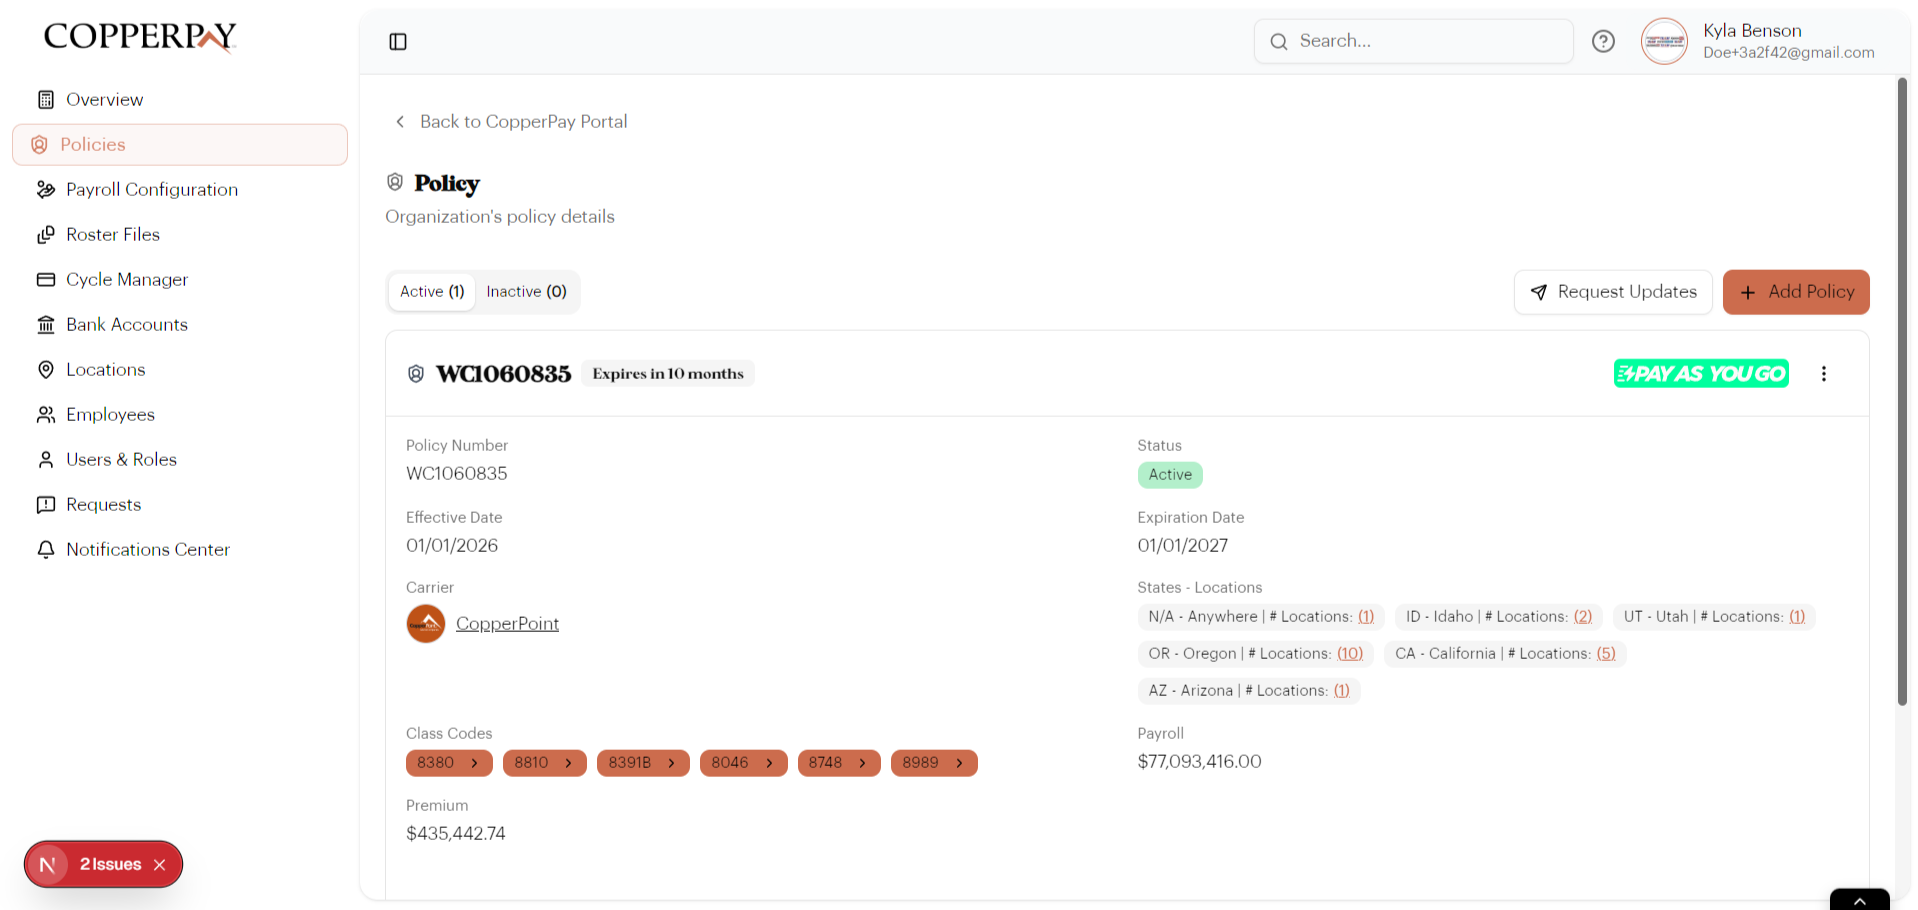
Navigate to your active policy's detail page.
From the sidebar, click Policies, then click on your active policy. You'll see your policy details: status, effective/expiration dates, carrier, states, class codes, and premium summary.
Click "Request Updates"
Open the change request modal.
Click the "Request Updates" button at the top of the policy page. A modal window appears asking what you'd like to update.
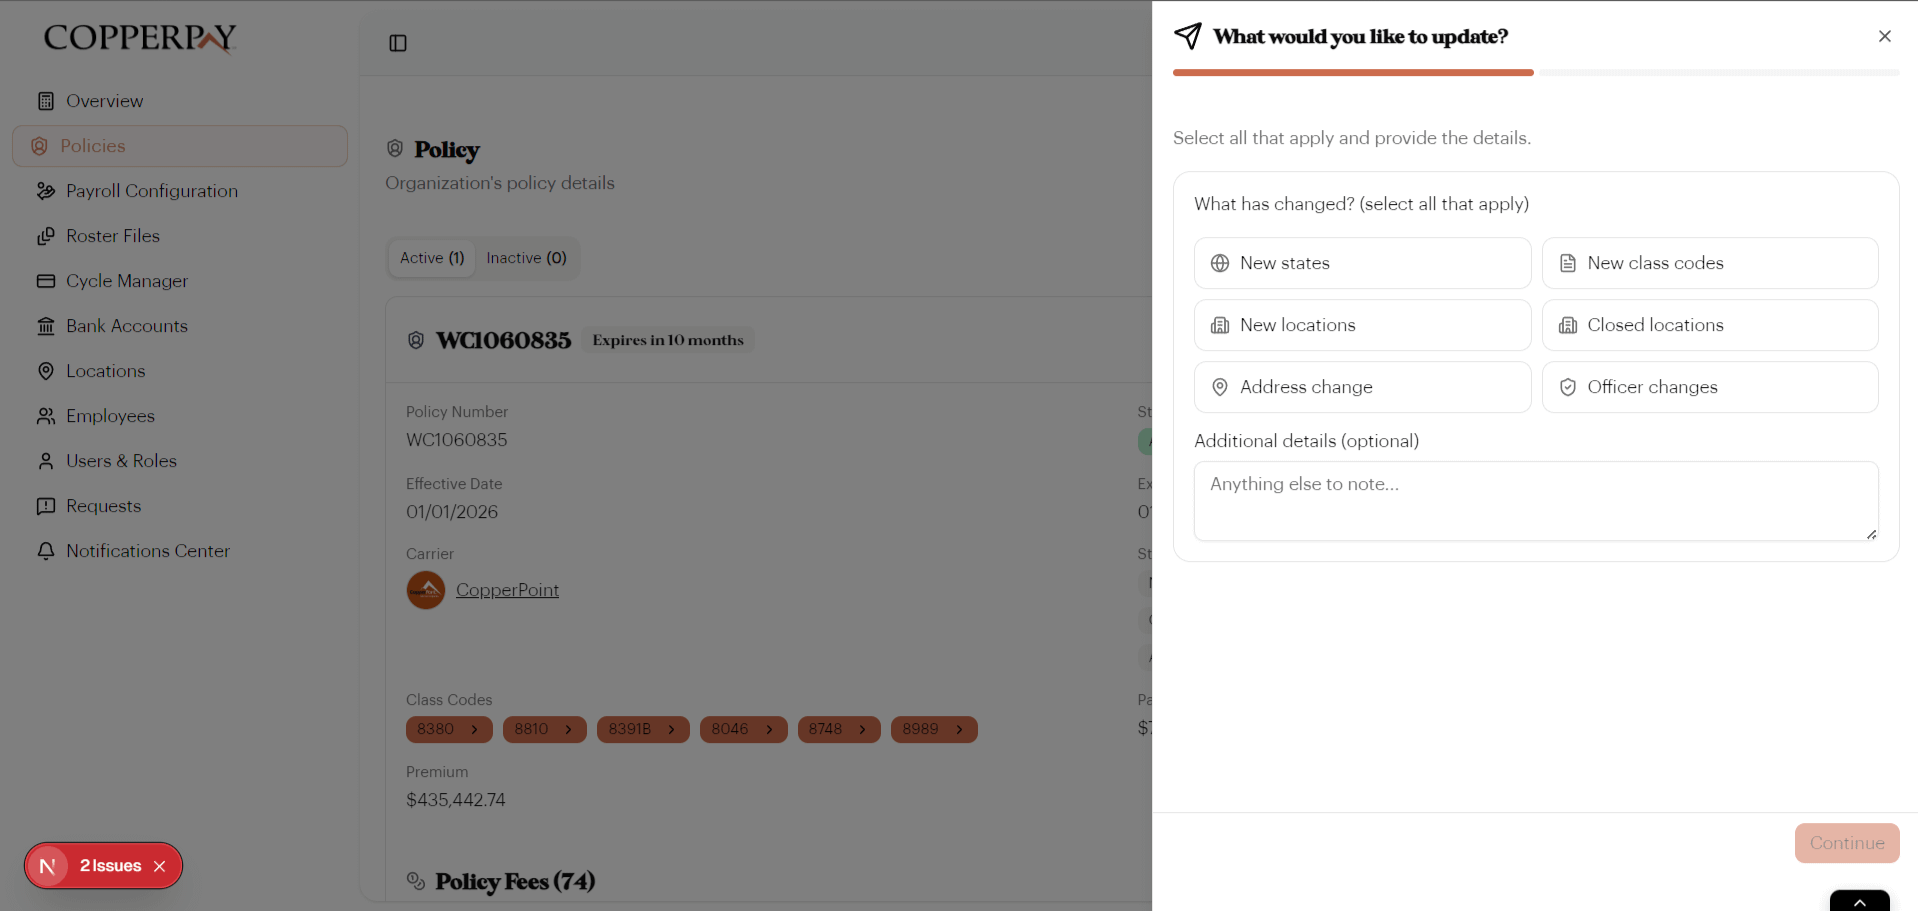
The available change types are:
| Change Type | When to Use |
|---|---|
| New states | Your business is expanding to a new state |
| New class codes | Your employees are doing new types of work |
| New locations | You opened a new office or job site |
| Closed locations | You closed an existing location |
| Address change | An existing location has moved |
| Officer changes | Company officers have been added, removed, or updated |
Provide Details & Submit
Fill in the specifics and send the request to your carrier.
After selecting a change type, additional fields appear. For example:
- New states — search and select the state(s) you're adding
- New class codes — search and select the class code(s)
- New locations — enter the full address
- Address change — provide old and new address
Add any helpful notes in the Additional details text area, then click Continue to review and Submit.
Part B: Change Your Payroll or Software Provider
Switching payroll companies or software providers is a separate flow from the Payroll Configuration page.
Go to Payroll Configuration
Navigate to the provider settings for your account.
From the sidebar, click Payroll Configuration, then select the Software / Provider tab. You'll see your current providers listed.
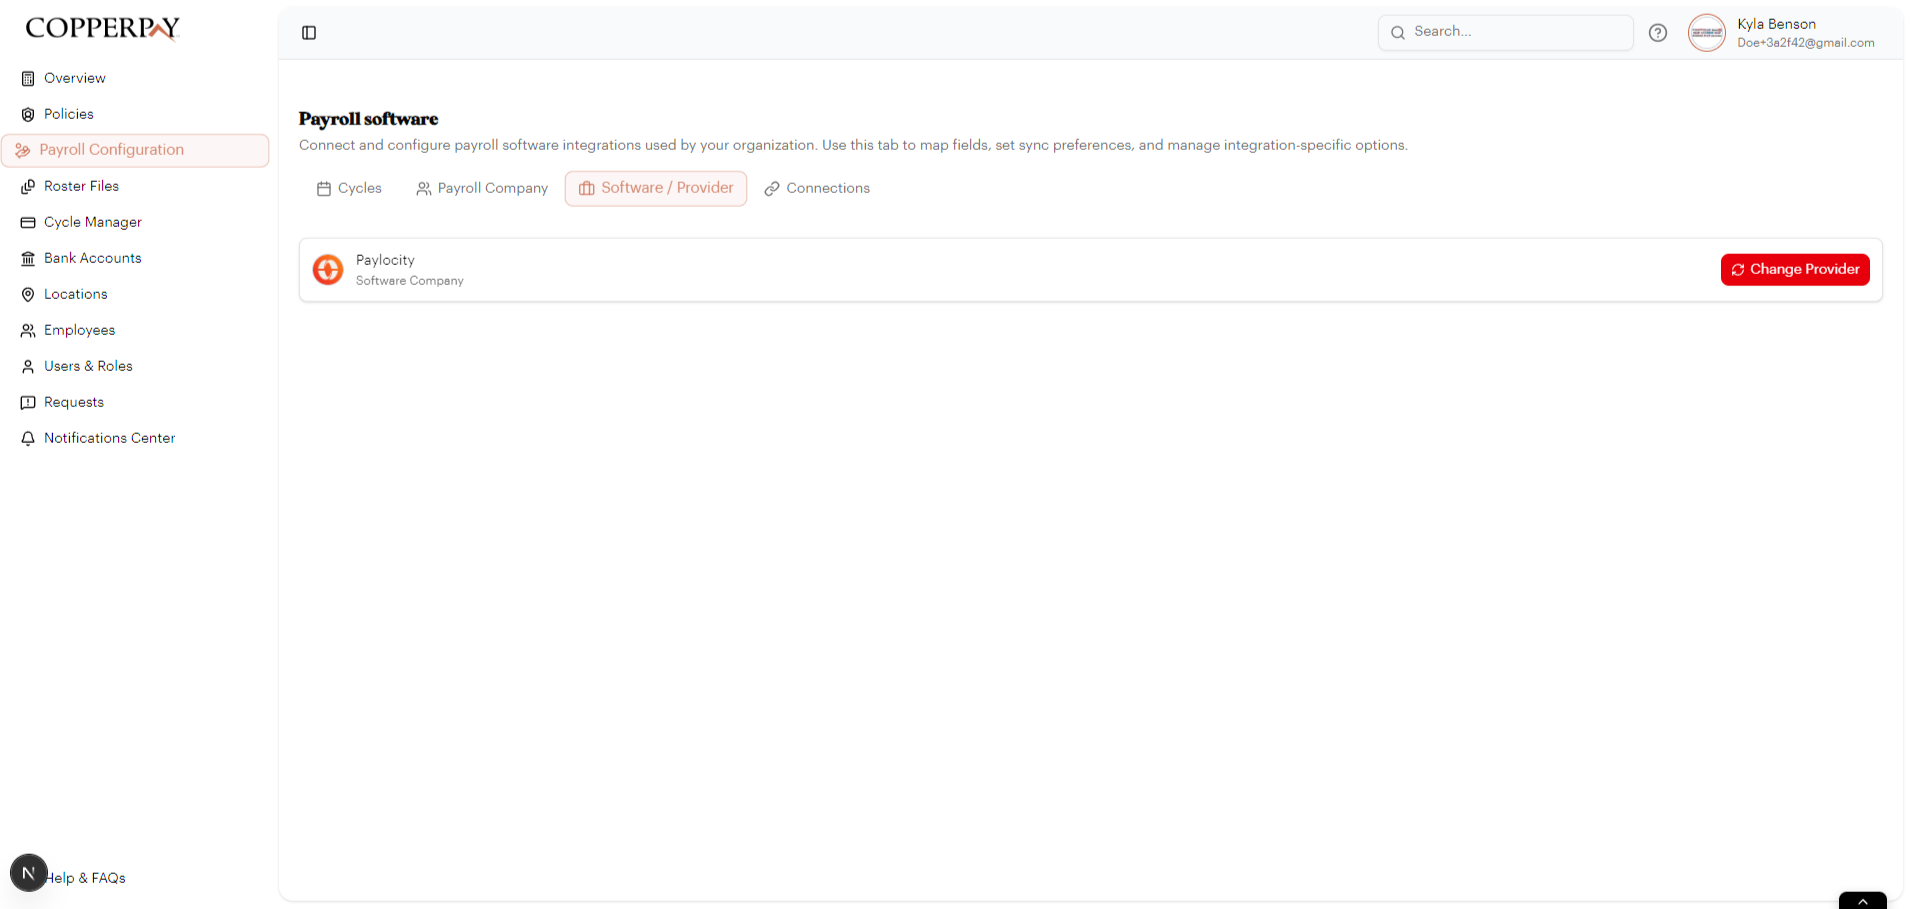
Click the "Change Provider" button next to the provider you want to switch.
Reason, Selection & Confirmation
A 3-step wizard walks you through the change.
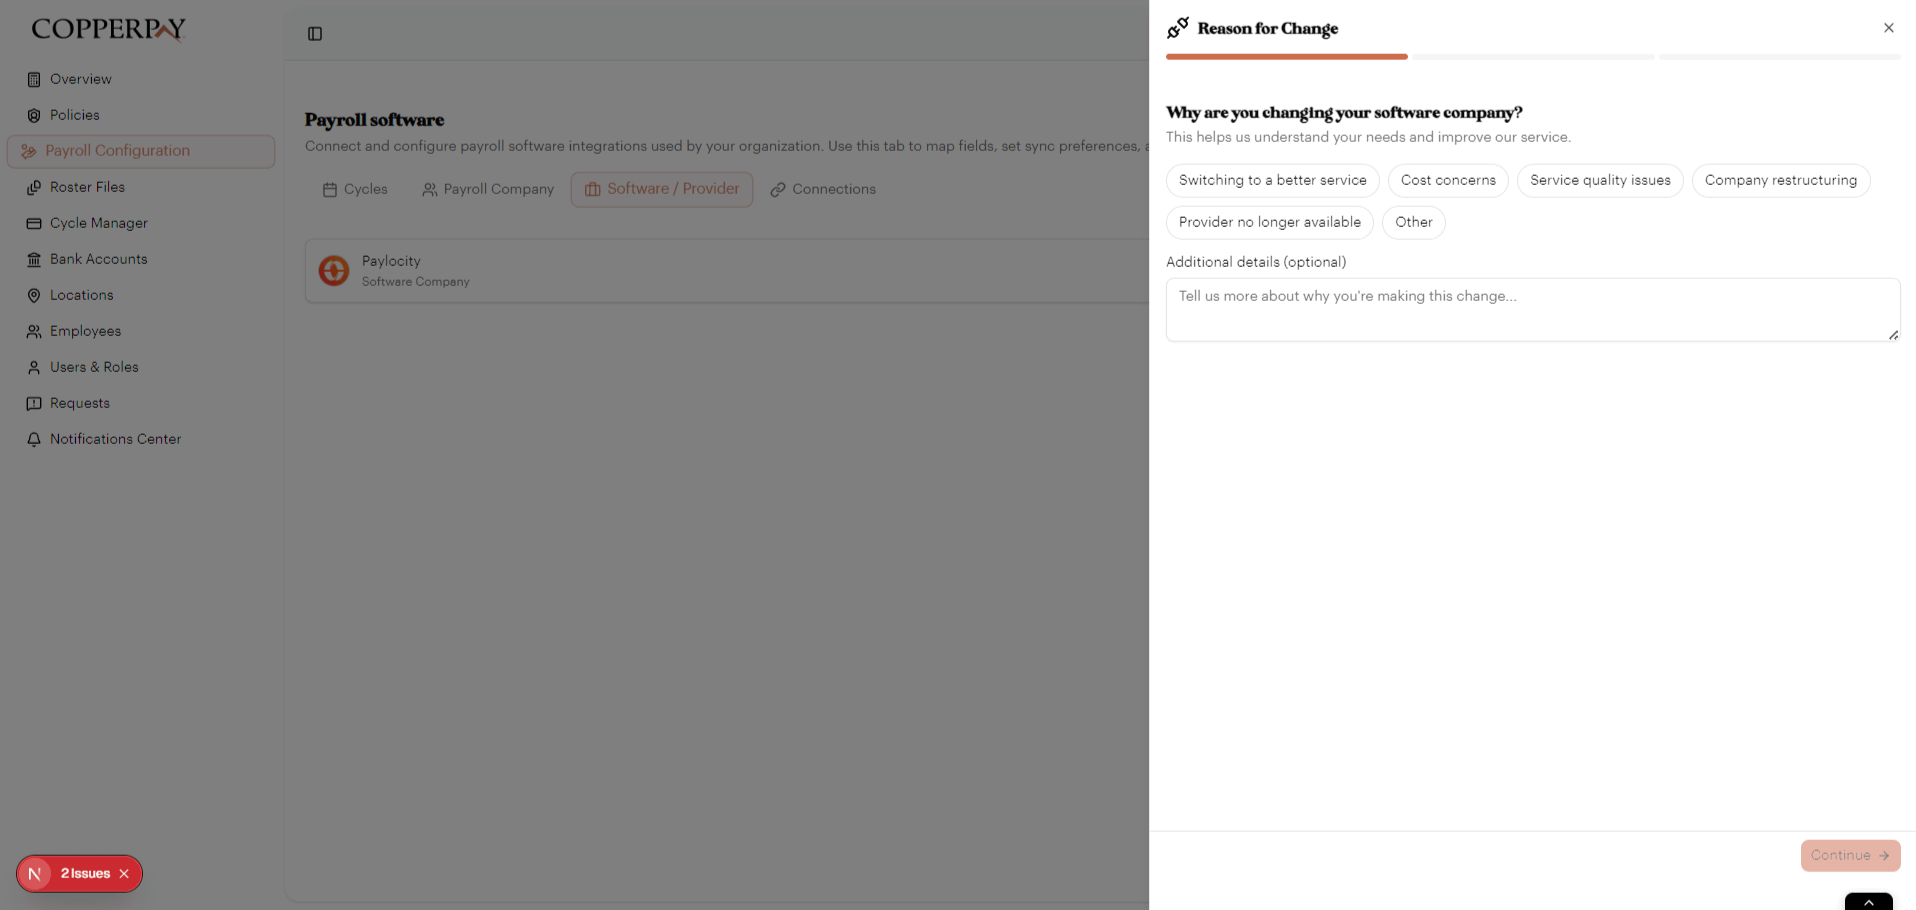
Step 1: Why are you changing?
Select the reason for the switch:
Step 2: Select your new provider
You have three options:
Option A: Pick from the directory — browse or search 37+ registered providers and click "Select."

Option B: Enter manually — if your provider isn't listed, enter their company name and contact email. This requires admin approval.
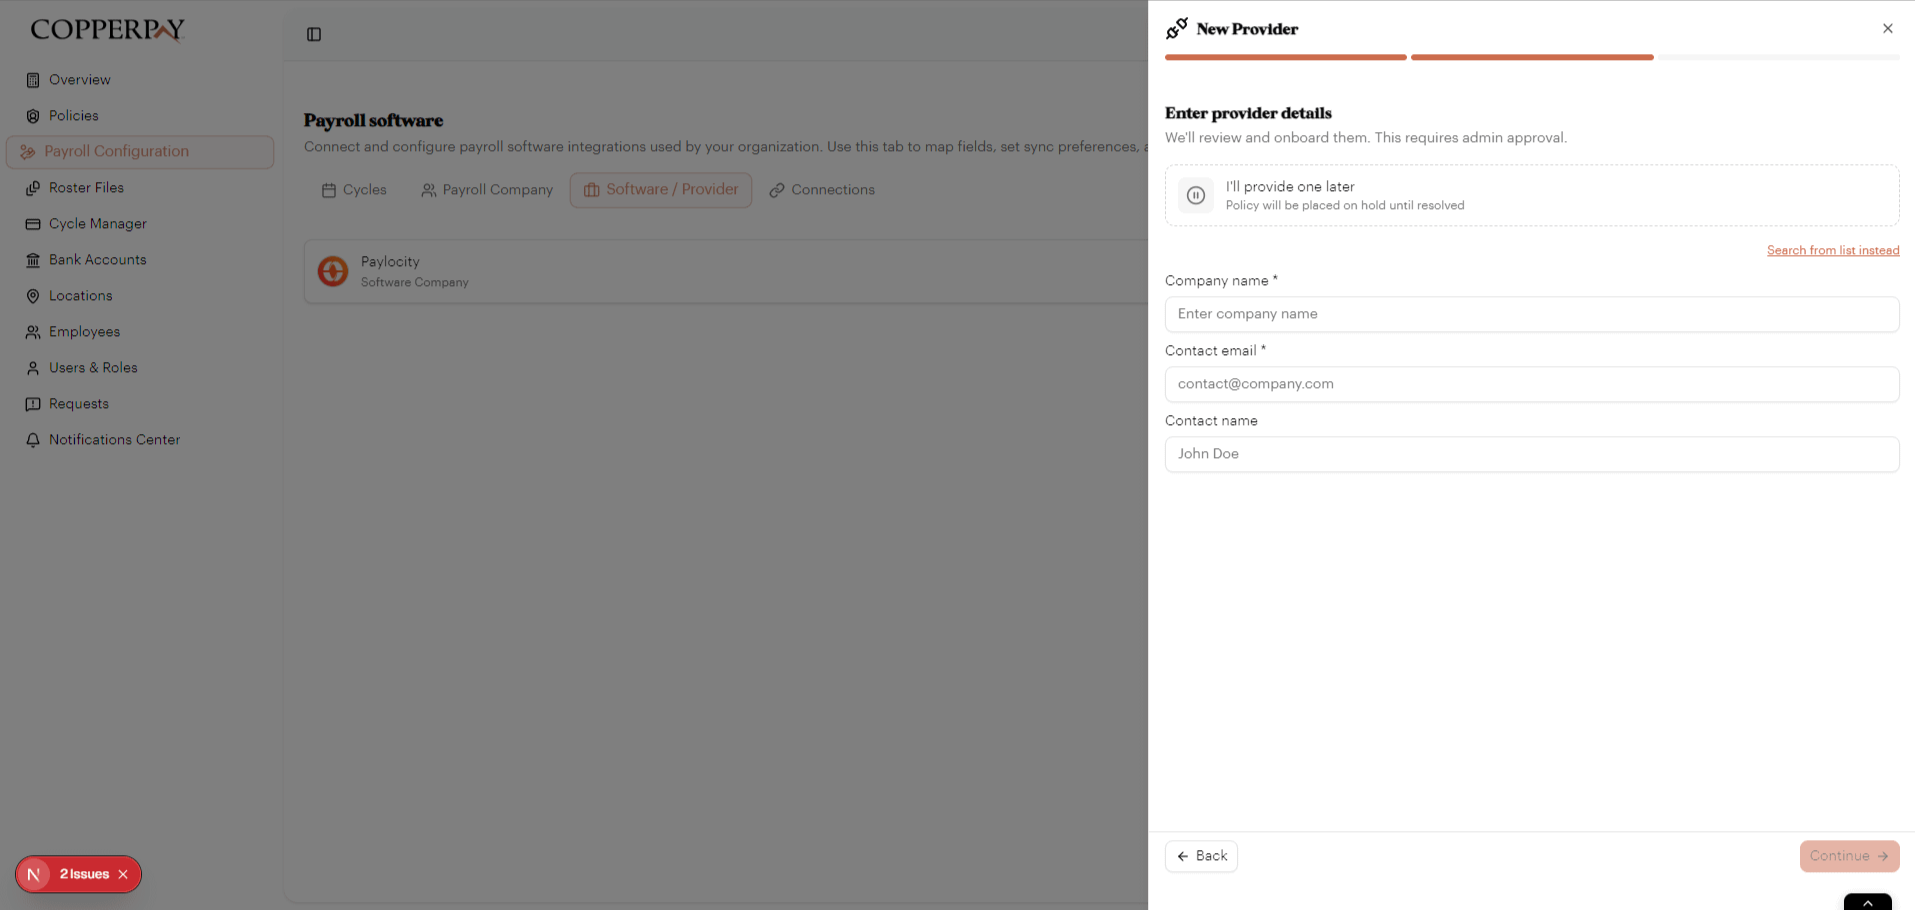
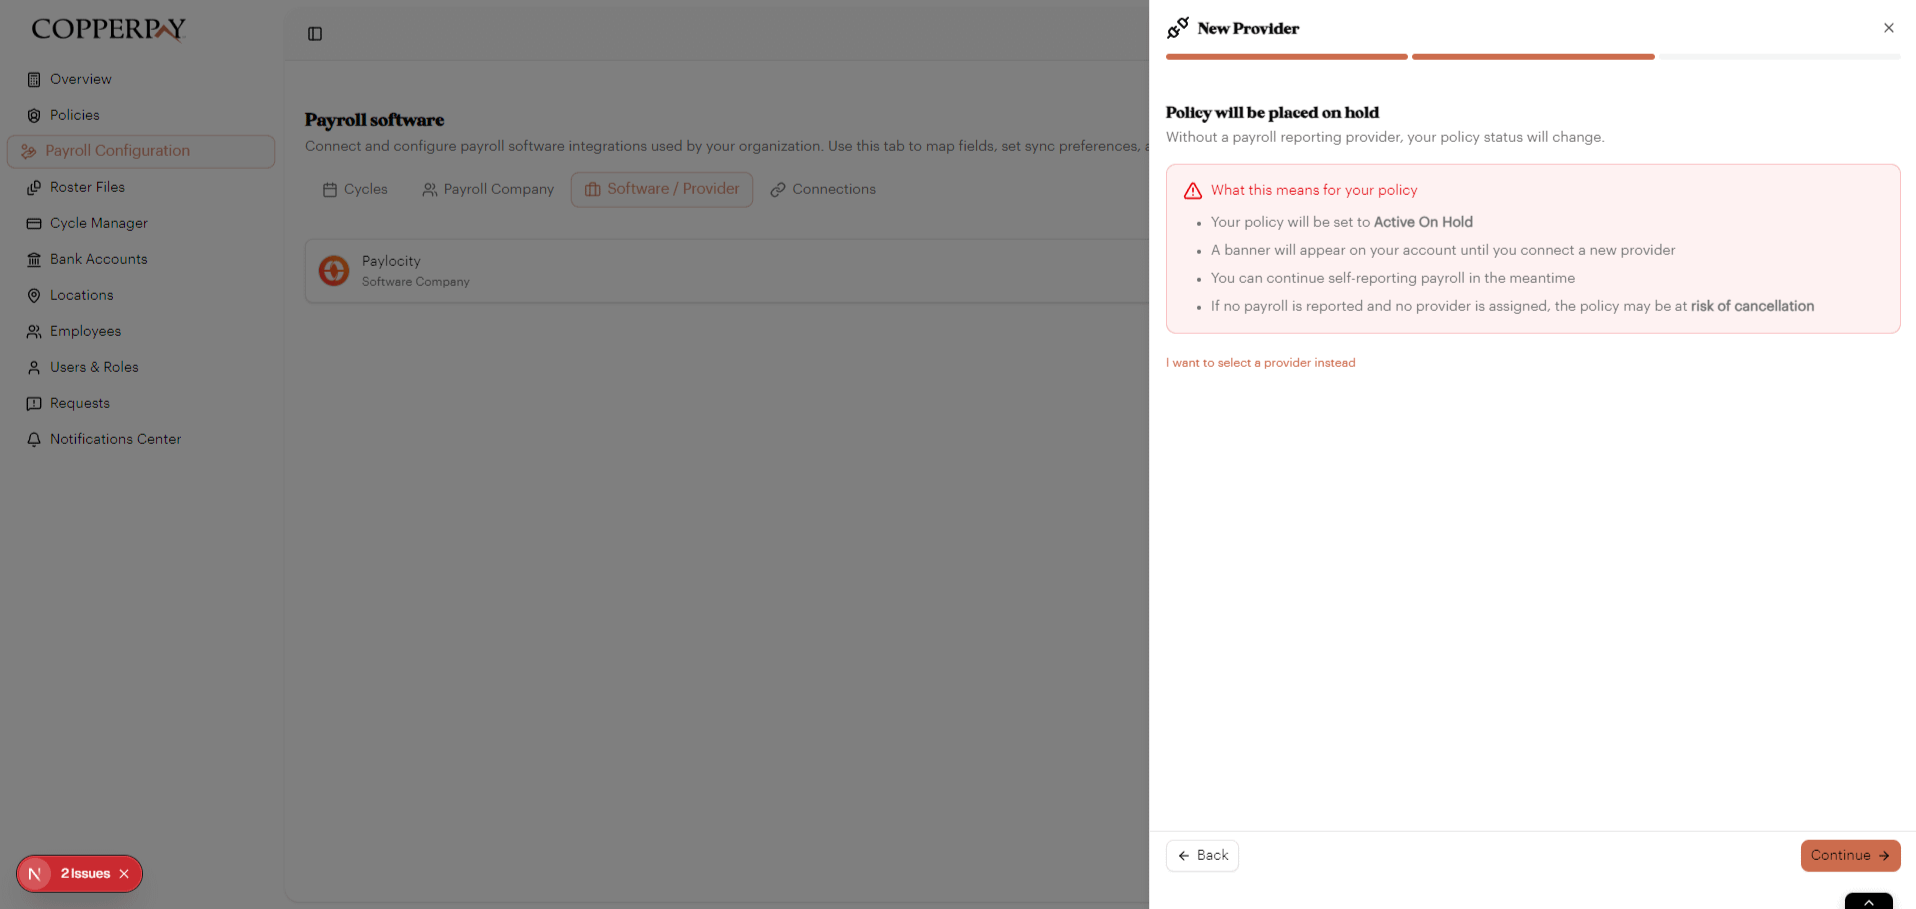
Option C: "I'll provide one later" — your policy will be placed on Active On Hold.
Step 3: Review & confirm
The final step shows a summary: your reason, the old provider, the new provider (or "None — on hold"), and what happens next.
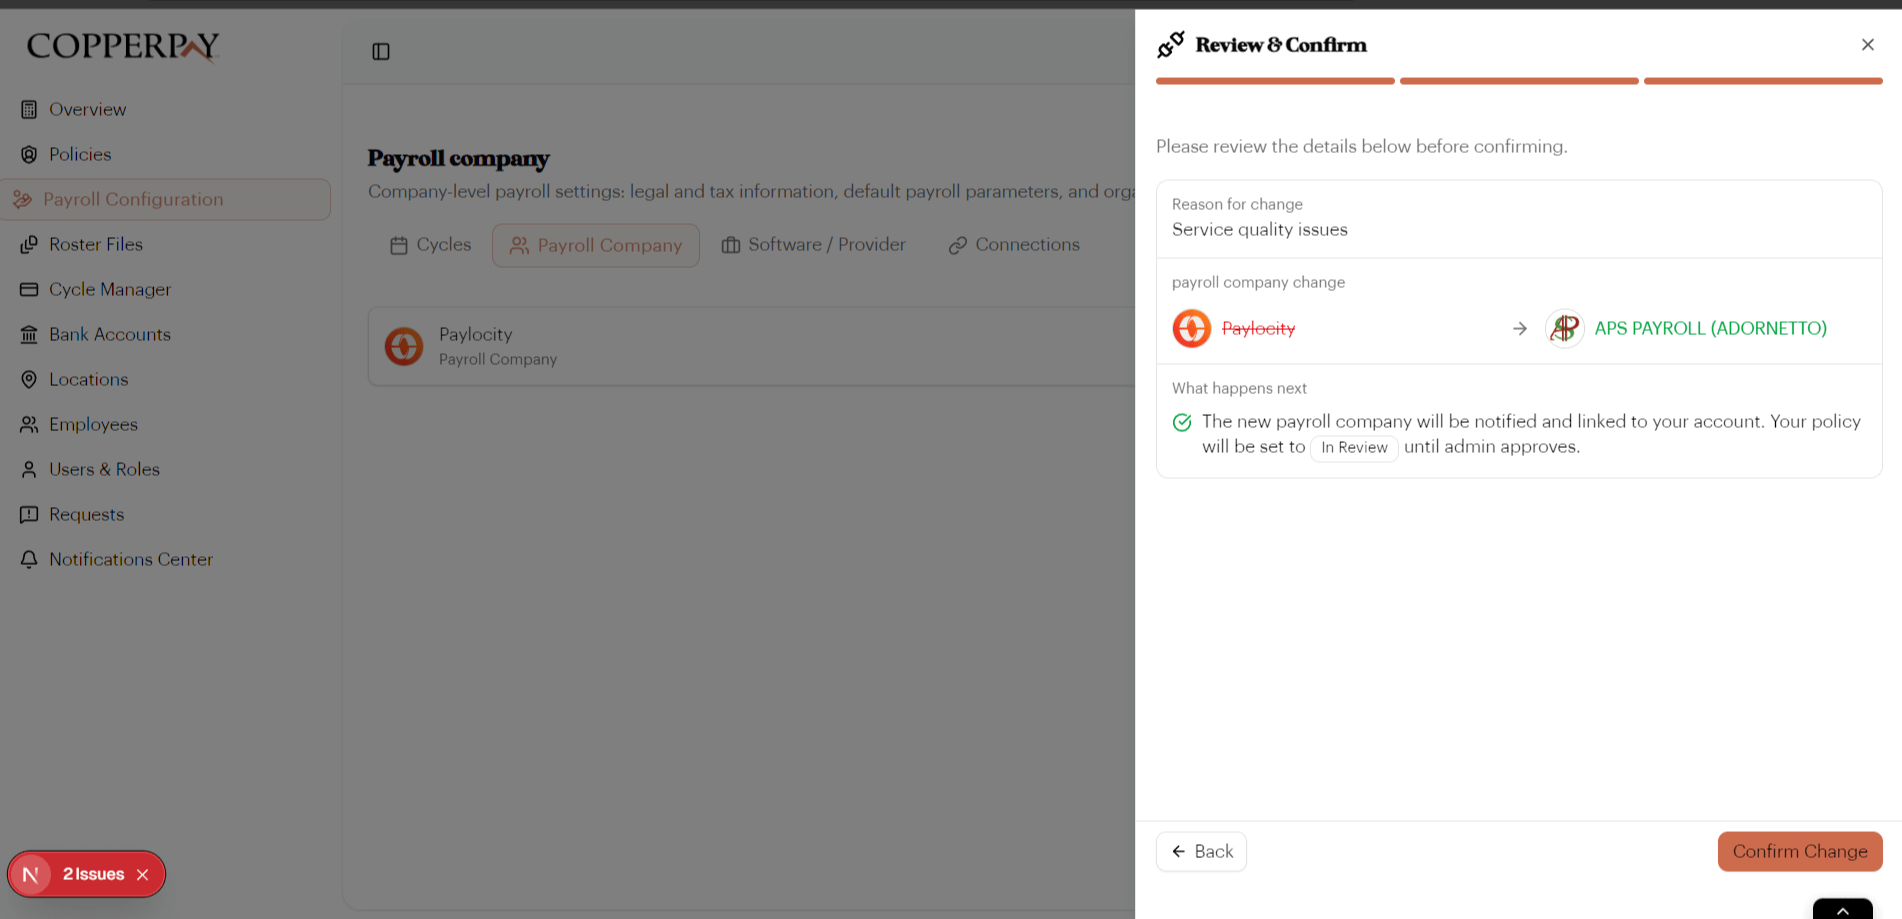
Click "Confirm Change" to submit. The admin and carrier are notified, and your new provider will be linked to your account.